Too Many Requests from Your Network
Please complete verification to access this content.
Can light housings, also known as recessed lights, are a popular lighting choice for modern homes in the UK due to their sleek design and space-saving features. However, there may come a time when you need to remove or replace them—whether for maintenance, upgrading, or troubleshooting. In this guide, we’ll walk you through the step-by-step process of safely removing can light housing from your ceiling.
If you’re not confident in handling electrical tasks, Buraq Electric is here to help. Visit buraqelectric.co.uk for professional electrical services tailored to your needs.
Tools You’ll Need
Before starting, gather the following tools:
- A flathead screwdriver
- A stepladder or sturdy platform
- Needle-nose pliers (optional)
- Voltage tester (for safety)
- Protective gloves
- Safety First
Turn Off the Power:
Always switch off the power at the circuit breaker. Test the light switch to ensure the power is completely off.
Use a Voltage Tester:
Verify that no current is flowing to the light fixture by testing the wires with a voltage tester.
Step-by-Step Guide
1. Remove the Trim
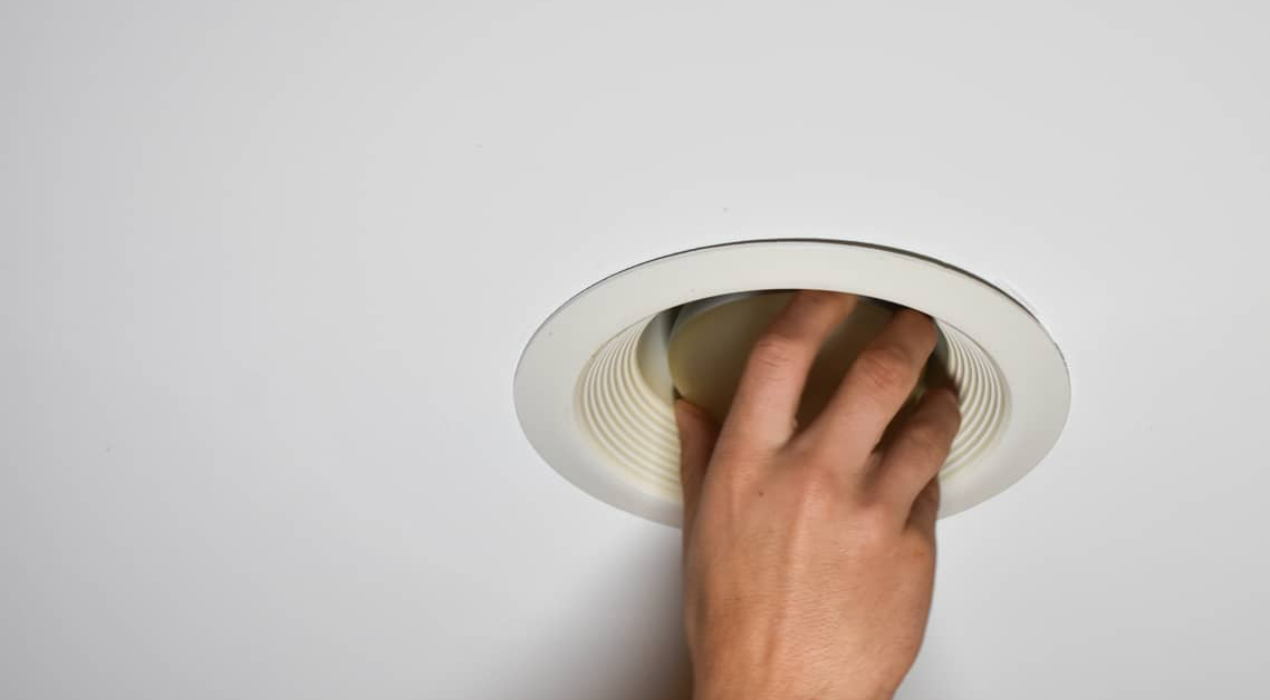
Most can light housings have a decorative trim around the edge. Gently pull down on the trim; it may be held in place with spring clips or screws.
If spring clips are present, compress them to release the trim from the ceiling.
2. Detach the Bulb
Unscrew the bulb from the housing and set it aside. This step gives you better access to the housing.
3. Disconnect the Housing
- For Remodel Housings:
- Look for clips or screws securing the housing to the ceiling.
Use a screwdriver to loosen the screws or release the clips. Once loosened, carefully pull the housing out. - For New Construction Housings:
These are often nailed to ceiling joists. Locate the screws or nails holding the housing in place.
Unscrew or pry them loose using pliers or a flathead screwdriver.
4. Disconnect the Wiring
Identify the junction box within the housing. Open the box and disconnect the wires by loosening the wire nuts.
Separate the wires, ensuring no contact between live wires.
5. Remove the Housing
Once the housing is free from the ceiling and wires, gently pull it out. Take care not to damage the surrounding drywall.
Additional Tips
- Work Gently: Avoid using excessive force to prevent damage to the ceiling or surrounding materials.
- Check the Ceiling Condition: Once the housing is removed, inspect the area for any damage or debris that may need repairing.
- Upgrade Your Lighting: Consider replacing your old can lights with energy-efficient LED models for long-term savings.
When to Call a Professional
If you’re uncertain about any step in the process or encounter unexpected complications, it’s always best to consult a professional electrician. Handling electrical systems without proper knowledge can pose significant risks.
For expert electrical services in the UK, including lighting installation and maintenance, contact Buraq Electric. Their skilled team ensures safe, efficient, and affordable solutions for all your electrical needs.
Visit buraqelectric.co.uk today!
Removing can light housing is manageable with the right tools and precautions. However, when in doubt, always prioritize safety and reach out to experienced electricians for assistance.
